>So in my shop I’ve had sooooo many people ask for completed toys. I think people search for toys and find my etsy shop, don’t know how to crochet, and it goes from there. I’ve been making lots of toys and have gotten a lot faster at it. I used to really push those deadlines, not having time to work on them and waiting til the last minute. Now every recent toy I’ve made has shipped early. Hey if you’re wanting a completed doll, lemme know—I’m on a roll! 😉
Oh and it has helped that someone requested a complete set of Yo Gabba Gabba dolls in natural materials. I really like using wool over acrylic—such a huge difference the way it crochets…!
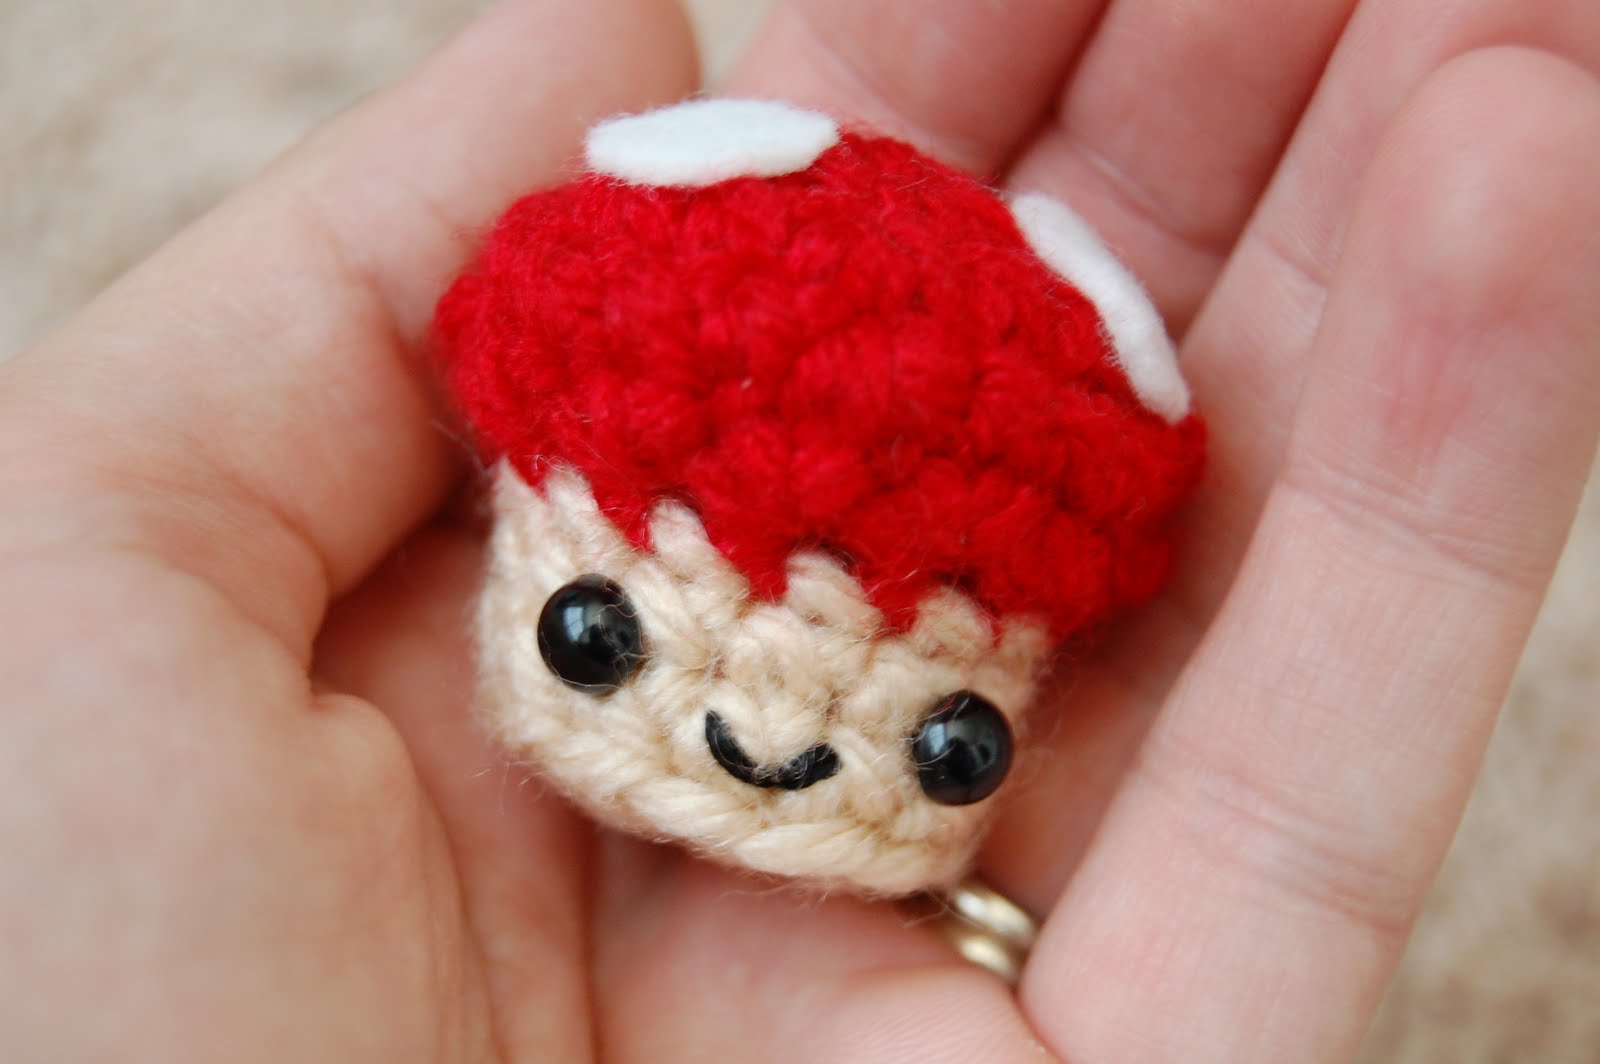 Well it was my intention to keep posting these little free patterns, but you know how it is….life….anyway, here’s the next one! It’s a little mushroom, tiny and sweet. He works up in no time, so you could make a bunch for gifts, maybe even for trick or treaters if you were feeling generous! I glued the spots on but you can sew ’em on if you’d like. He’s kind of Super Mario – ish except my 8-year-old informed me the smile does not belong. 🙂 You could make one in green and enjoy an easy 1-up anytime you like! Enjoy!
Materials:Red worsted weight yarn
Tan worsted weight yarn
Black safety eyes (6mm)
Black embroidery floss
(E-I) Hook (larger hook will make Baby bigger)
Yarn needle
Polyester stuffing
White felt
Craft glue
Key:ch: chain
sc: single crochet
st: stitch
sc2tog: single crochet 2 st together (decrease)
BLO: crochet only into the back loops (furthest away from you)
FLO: crochet only into the front loops (closest to you)
Baby Mushroom:
Starting at top of mushroom and with red yarn, make an adjustable ring, ch 1, and sc 6 into the ring. Pull closed.
R1: Work 2sc into each st (12)
R2: (2sc into next st, sc into next st)* repeat to end of round (18)
R3: (2sc into next st, sc into next 2 st)* repeat to end of round (24)
R4: sc2tog all the way around (12)
At the last stitch of R4, change to tan yarn by making the last stitch and instead of yarning over with the red yarn for the last step of making the stitch, yarn over with the new tan yarn.
R5: sc into the FLO of each st (12)
R6-7: sc into each st (12)
Mark your place with a stitch marker and insert the safety eyes into Baby Mushroom’s face. The back snaps on inside the mushroom. It will be a tight fit! Stuff the mushroom as tightly as possible to make him nice and squishy.
R8: sc2tog all the way around (6)
Fasten off by slip stitching into the next stitch. Leave a long tail and using a yarn needle, weave this tail through the last round of stitches. Pull it tight and the hole will close. Hide the end inside the mushroom.
Glue three white felt circles onto Baby Mushroom’s head using craft glue.
*If desired, you could tie a loop of yarn at the top and hide the ends inside Baby Mushroom to make a hanger for a necklace, keychain, ornament, etc.

