craftyiscool

Amigurumi Patterns and Playthings

First Friday Free Pattern and BIG surprise!

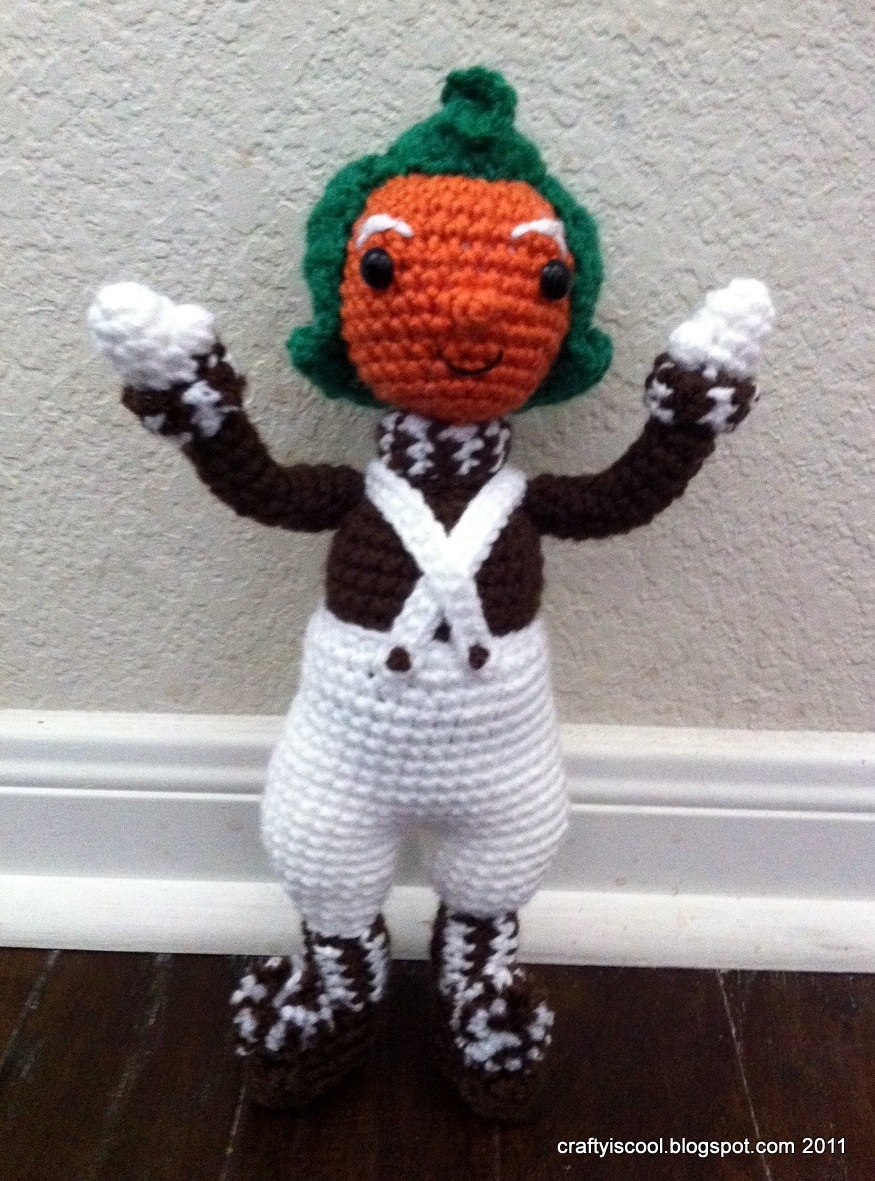
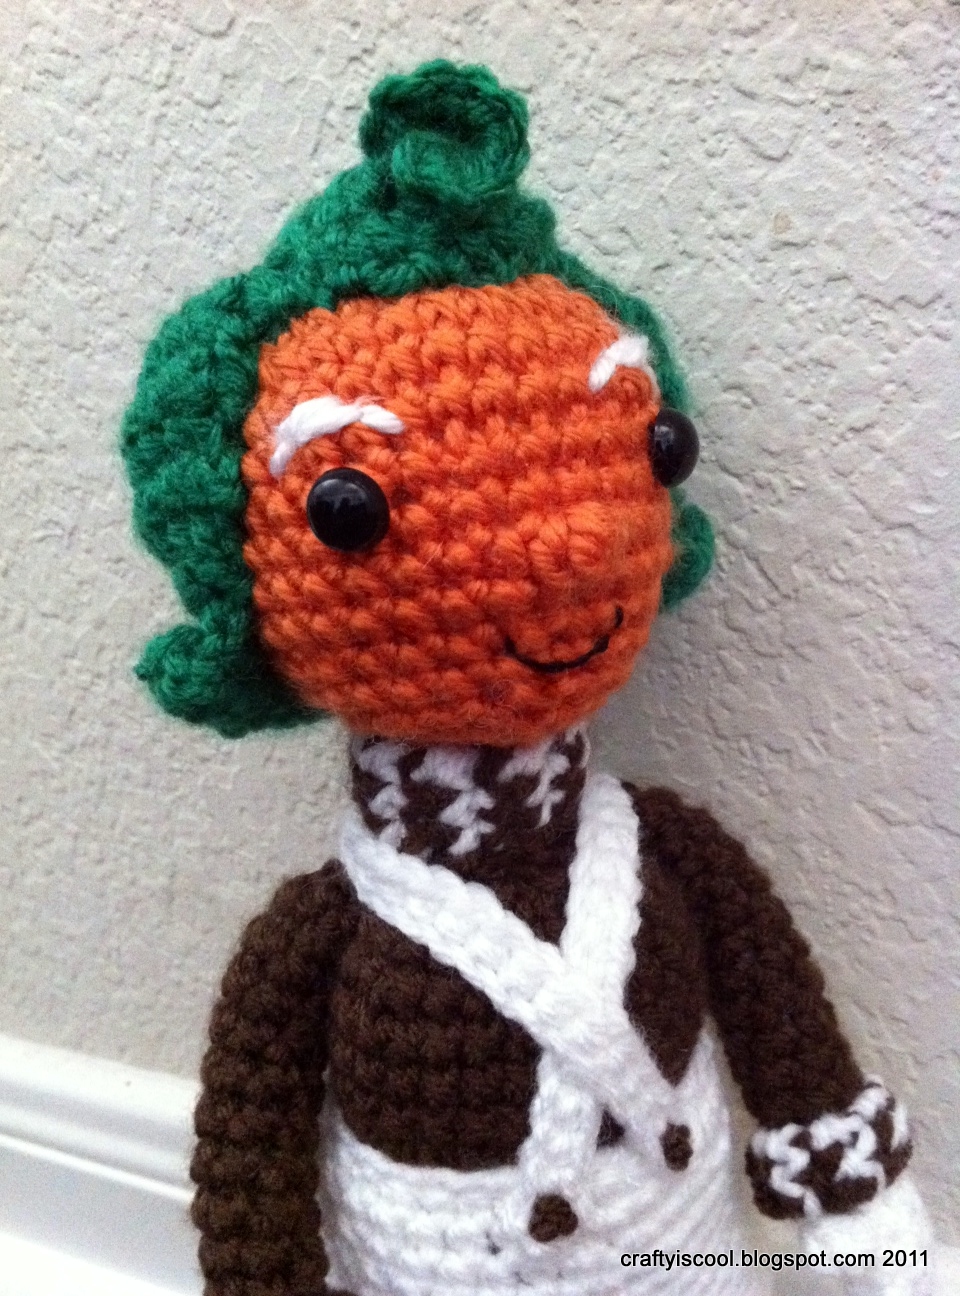
Happy birthday to my husband! It’s a milestone birthday, and a big deal, so this post is dedicated to him. Did you know it was his idea to start writing my patterns? He’s the one that suggested I make a Conan! I owe him a lot, and he’s given me a precious little family along the way. So happy birthday, Paul! I love you and you are an amazing husband and father.

In other news, it’s Free Pattern Friday again! I’ll tell you the truth: I’ve had this pattern and little book made for weeks, just itching to post it, but I want to stick to my schedule, so here she is!

This is no ordinary little crocheted book. She has a face, super cute lining, and even  little pages inside. You can personalize your little stitch-a-book however you want. Is it someone’s birthday? Stitch, “Happy Birthday, Paul!” Someone get a new job? “Congratulations, Kendra! You’re awesome!” Tired of waiting on your boyfriend to pop the question? “Marry me already, won’t ya?!”

Whatever you make and whatever message you put inside, could you PUH-LEEEEZE post it on the CraftyisCool facebook page? I’d love to see them and I’m sure others would too!

My own? My Stitch-a-book has a special message for you all…

Yes, I’m writing a book! Since I started writing patterns it has been my long term goal, and now it’s happening! I can’t give you too many details, but it is going to be amigurumi (duh), it is being published by Lark Crafts (hi Thom!) and it won’t be out until Fall of 2013. That seems so far away, huh? That’s the way things work in this business, apparently, and I can’t complain. I will have plenty of time to make sure it’s the best book we (Kate and Thom and I) can come up with! I’ll still be putting out new stuff all the time, free patterns and tutorials, designing and blogging. I can’t wait! Thank you all for your support and helping me get where I am now. Totes ‘preciate it. 😉

Now here’s that pattern…

Stitch-a-Book

Here’s what you’ll need:

Materials:
Worsted weight yarn (I used Lion Brand Vanna’s Choice Baby in Aqua
White, black and red felt
Coordinating fabric for lining and matching thread
Black embroidery floss

Tools:
Size E crochet hook (or your favorite size)
Yarn needle
Embroidery needle
Craft glue

Key:
ch: chain
sc: single crochet
sl st: slip stitch
FLO: crochet into front loops only
BLO: crochet into back loops only

Book Cover:
R1: With E hook and yarn, ch 15. Sc into 2nd ch from hook and next 13 ch (14)
R2-13: Ch 1, turn. Sc into next 14 st (14)
R14: Ch 1, turn. Sc into FLO of each st (14)
R15: Ch 1, turn. Sc into BLO of each st (14)
R16-27: Ch 1, turn. Sc into both loops of each st (14)
* You will now crochet along the outside of the book cover to make a clean rounded edge.
R28: Work 2 more sc into the last st of 27, turning. Sc into next 26 st along edge, work 3 sc into last st, turning. Sc into next 13 st along edge, work 3 sc into last st, turning. Sc into next 26 st along edge, work 3 sc into last st, turn. Sl st into next 12 st, fastening off at last st. Weave in ends.

Lining:
Lay book cover out flat. Cut a piece of fabric a little smaller than the cover, rounding the corners. Pin to inside of cover and stitch or glue around edge.

Pages:
Cut two long rectangles slightly smaller than the book lining. These are the pages of the book. After embroidering your message you will glue or stitch them together to hide thread ends.

With a pencil or very faint pen markings, write your message on the inside pages or the outside of the bottom piece of felt. Use black embroidery floss to straight stitch your message.

Glue or stitch the layers of white felt together. Using the thread that matches your fabric, stitch the pages together at the center fold, then stitch them into the cover of the book along the inside spine.

Cut two small circles from black felt and glue to the front cover. Cut one half-circle from red felt. Glue to front cover. Ta da!

Hope you like this one! It’s very dear to my heart 😉

12 Comments »

>I love that story.

>School’s out, kids are home, and mommy plans lots of day trips. At our house if we stay in one place too long, someone is going to get into a fight. So instead of waiting for the inevitable, we are out the door, visiting a bounce house, swimming, checking out library books, heck, even Ikea counts as something to do. Every day when we drive into the neighborhood its a contest to see who will get the mail. Usually before I can get the words out, “Who wants to get–“, I’m cut off by three little shouts of “ME!” Its the ultimate reward when one of them gets the mail and there’s a key inside the mailbox. That means there’s…..a PACKAGE.
So today when we got the mail there was that extra little key to the extra big mailbox. And what was in that package?

It was the Interweave Crochet Amigurumi Calendar! Look right there in the middle. See that stripey pink monster? That’s Lovey and she’s mine! I wasn’t expecting it yet so when it came I was so surprised! All the stuff in the calendar is really adorable. I’m not sure when it will be available to order but my guess would be before 2012. Ha.

See all those other cute toys in there? Pretty neat, huh?

Besides admiring my monster in the glossy new calendar I got today, I’m working on more iam8bit stuff. This is totally NOT giving anything away if I show you these sneak peeks of what I’m doing for a new project for the show. Really. You will probably think its one thing but it will be something totally different. So here….

Pac-man ghosts and a little Kirby! I jotted down some patterns as I went but I’ll get to that another day. They are small parts of a bigger picture. Hopefully I’ll finish in time and you’ll get to see them! Otherwise they will probably make cute Christmas ornaments.
Hope you are all having a great summer! What are you working on? I’d love to hear in the comments below!

4 Comments »

>Feeling Sheep(ish) GIVEAWAY!

>A couple of years ago I was asked to do a demonstration of creating amigurumi at the Alamo Drafthouse screening of Handmade Nation. I loaded up a ton of free patterns and yarn, some toys I had already made, and set up shop. It was so fun. The first person to sit down for help was a man that was left-handed. Challenging, but we muddled through! Sometime during the day, here came Vickie Howell with her little boy. I didn’t even notice, but started to hand her a free pattern and looked up. “Oh, you know how to crochet!” I said, a little starstruck. (I’d seen her forever on Knitty Gritty!) So she got a little mushroom pattern and kit for her son and was super sweet. 

So when Vickie was looking for designers for her new yarn, Sheep(ish), imagine how happy I was when she asked me to design an amigurumi pattern for the launch! I obliged, and got to work. I can’t show you the finished toy yet, but here’s a sneak peek…

The yarn is soft and shiny, so unlike a lot of the yarn I started out crocheting with. I think sometimes people are drawn mainly to color (and ignore the feel of the yarn) when they’re making amigurumi because so many of the wool or wool blend yarns come in mostly muted colors. This is why I think Sheep(ish) works so great for amigurumi. Its a 30/70 wool and acrylic blend that is worsted weight and washable. The worsted weight is what we want as amigurumi-ists because the crocheted fabric shows fewer holes and it holds its shape better. Sheep(ish) has all the bright colors and they all coordinate beautifully. I made a lot of Baby Monsters for Renegade Craft Fair and by far the softest and shiniest ones were the Sheep(ish). Usually a soft yarn has a gauge that I just can’t work with. I either have to use a tiny hook to get a really tight gauge or I have even had to use two strands together. With Sheep(ish) I have the softness and gauge I need.

I’m sure you’ll love Sheep(ish) as much as me! I’m so sure, in fact, that I’m going to give one of you a skein of this awesome yarn along with a kit to make your own Baby Monster! Not only will you get the tools and materials to make your own, but you’ll also get a Baby Monster keychain I made out of Sheep(ish) in one of my favorite colors, Red(ish). All you have to do to enter is leave a comment below, telling me your favorite Sheep(ish) color. Check them all out here! Monday morning I’ll pick a random number and that lucky person will get everything pictured below!

Can’t wait for a giveaway? Sheep(ish) is available to order now on  Buy.Caron.com and Joann’s superstores all over. If you’re not sure if Joann’s near you carries it, Vickie has provided a Sheep(ish) Finder App on her website.

Make sure you follow the rest of the Sheep(ish) blog tour. I’ve put the whole list below so you can read everyone’s take on this. Interesting how knitters and crocheters and amigurumi-makers all find things they like in this yarn, albeit very different qualities.

May 25th:  BlogHer.com (Kathy Cano-Murillo)


May 26th: LindaMade.com (Linda Permann)

May 27th: Kitschy Digitals (Danielle Thompson)

May 28th: DOUBLE POST DAY:  CraftyChica.com  (Kathy Cano-Murillo) + JustCastingOn.net (Deb Steenhagen)
May 29th: Susan B. Anderson

May 30th: CrochetbyFaye.com (Robyn Chachula)


May 31st: CathieFilian.com (Yarn Wreath Project by Cathie)

June 1st: Craftzine.com (Review by Sister Diane)

June 2nd: Knitgrrl.com (1 Skein Project by Shannon Okey)

June 3rd: CraftyisCool.com (Allison Hoffman)

June 4th: Coquette Blog (Natalie Zee-Drieu)

June 5th About.com (Sarah White)

June 6th: Manhattan Craft Room (Brett Bara)

June 7th: BetzWhite.com

June 8th: TheCrochetDude.com (Drew Emborsky)

June 9th: Naughtysecretaryclub.com & Ilovetocreate.com (Dual post on the same day.
Yarn-wrapped mobil by Jennifer Perkins)
June 10th: Craftzine.com (Ladybug Outfit Pattern by Vickie)

June 11th: StephanieJapel.com

73 Comments »

>From Loompaland…

>

Happy Friday! There’s a new pattern in my shop! He’s small and orange with green hair. He likes the color brown, both for fashion and chocolate. He can do gymnastics, squeeze juice from giant blueberry children, shine up some golden eggs, and shrink massive chocolate bars by sending them through the air in a million tiny pieces to your television (where they’re all put together again in the right order). If you’re like me, you grew up watching the Gene Wilder “Willy Wonka and the Chocolate Factory” over and over (and over and over). Its one of my top 5 movies of all time, for sure, and never gets old! 

If you want to make your own little factory helper, its a pretty simple pattern! Thanks for being crafty and cool!
5 Comments »

>Wanna make a monster?

>

Time for another tutorial! I made this lineup of baby monsters for my Basic Amigurumi class at The Knitting Nest.  I think they’re a pretty good beginner project because it teaches how to start crochet in the round, how to single crochet, how to increase, and basic construction and customization of amigurumi.  Let’s begin, shall we?

Baby Monster’s Guide to Basic Amigurumi
You’ll need the following stuff:
  • Small amount of worsted weight yarn
  • Size E Crochet hook (or your favorite)
  • Plastic safety eyes (I used 6 mm, but you can use whatever makes your monster happy!)
  • Polyester fiberfill stuffing
  • Embroidery floss
  • White felt
  • Craft glue
  • Scissors
  • Yarn needle
  • Embroidery needle
Head/Body:
Begin by making a ring with your yarn as shown. 
Insert the hook into the front of the ring and hook your working yarn (the yarn coming from the the ball) with the hook.  Pull up a loop through your ring.
Wrap the working yarn around the hook from behind and pull through the loop on your hook.  This is called a chain stitch and is written in a pattern “ch 1”.
You will now single crochet six stitches into the ring. Insert the hook into the front of the ring and pull up a loop of working yarn to the front. Two loops are on your hook. Wrap the working yarn around the hook from the back and pull through the two loops. This is one single crochet stitch into the ring.  Do five more single crochets into the ring.
Pull the short yarn tail to close the ring and the stitches will come together to form a circle of stitches. This is the base for the rest of your monster.
To make the circle grow, you will increase by crocheting two times into each stitch. Insert your hook under both loops of the next stitch as shown.
Pull up a loop. Two loops are on your hook. 
Wrap the working yarn around your hook.  Pull through the two loops.  This is one single crochet stitch. Now single crochet into the same spot again. This is an increase. It is usually written “2 sc into next st” and for this round you will repeat this for every stitch until you have 12 total stitches in the round. Count the stitches by counting each “v” around the circle.
The next round, you will increase in every other stitch. This means that you will put two stitches in the first stitch, one stitch in the next, two stitches in the next, and so on. At the end of the round you should have 18 stitches.
For the last increasing round, you will increase in every third stitch. This means you single crochet two times in the first stitch, then single crochet in the next two stitches only once, then single crochet two times in the next stitch, and so on around until you have a total of 24 stitches.
After you have finished increasing, you will have a flat circle with 24 stitches around. This circle magically becomes a cylindrical shape as you single crochet around into each stitch for 9 rows.
Using a stitch marker, crochet around 24 stitches, move the marker to the loop on your hook, then crochet around 24 again, then move the stitch marker to the loop on your hook, and repeat until you have 9 rows. Of course, if you want your monster taller you can do more than 9 rows and if you want him to be on the short side, do fewer than 9 rows.
Finish your monster’s body off by slip stitching into the next stitch. All this means is that you cut the yarn with a few inches left, insert your hook into the next stitch, pull up a loop, and pull that loop all the way through the loop on your hook. 
Base:
To make the base of the monster, repeat the steps from the beginning to make a circle of 24 stitches.
Before sewing the pieces of your baby monster together, you must attach the eye(s).  Cut the felt piece as desired.  One large circle, two small circles, etc.  At the spot where you want to insert the black eye, cut a tiny slit and insert the post of the safety eye.  Place the eye where you want it on the body piece and push the post through. 
Put the washer inside the body and fit it over the post.  Push hard and snap the washer onto the post all the way down.

Insert a small amount of stuffing into your monster. Fit the bottom piece over the bottom of the body. Use the long yarn tail and a yarn needle to stitch the pieces together, lining stitches up and sewing between them. As the hole closes up, add more stuffing as desired.

Now its time to design your monster’s expression. Use the embroidery needle and embroidery floss to stitch a mouth, eyebrows, eyelashes, etc onto your monster’s face.

Give him a tooth or two by gluing a little piece of felt onto his mouth. Use your imagination! You can sketch out your design first so he’ll look just right.


Glue or sew down the edges of your monster’s eyes.

You can add a bow by tying a strand of yarn into a bow and stitching it onto your monster’s head with the same color.


Here’s how the pattern would look written out:
 
Head/Body:

Starting at the top of the monster’s head, with worsted weight yarn and an E hook, make an adjustable ring, chain (ch) 1, and single crochet (sc) 6 stitches into the ring. Pull the ring closed with the loose yarn tail.
R1 (Row or Round 1): 2sc into each st (12)
R2: (2sc into next st, sc into next st)* rep around (18)
R3: (sc into next st, 2sc into next st, sc into next st)* rep around (24)
R4-12: sc into each st (24)
Fasten off. Set aside.


Base:
Make an adjustable ring, chain (ch) 1, and single crochet (sc) 6 stitches into the ring. Pull the ring closed.
R1: 2 sc into each st (12)
R2: (2 sc into next st, sc into next st)* rep to end of rnd (18)
R3: (sc into next st, 2sc into next st, sc into next st)* rep to end of rnd (24)
Fasten off.

Here are my baby monsters! See how the expressions change with a little stitching, changing the eye size, and even the position of the felt?


Baby monsters are perfect for little hands!
97 Comments »

>Sue, Spies, Star Wars, and a Superhero

>Back in November, I announced that I would have a contest on my facebook page to end all contests.  When I got 500 fans, I said, I would let everyone “nominate” their choice of a new CraftyisCool design.  When all the submissions came through, I would choose ten that were best suited for amigurumi and that I thought fit in with my other designs.  Each would be sketched out, listed on my fan page, and voted on by CraftyisCool fans.  The winning design would be turned into a CraftyisCool pattern, and the finished toy would be gifted to the person who came up with the idea.

The results are in!  After counting up all the votes (OK really I had just had to look and see which had the most “likes”.  There was no counting involved!), the clear cut winner was Sue Sylvester from Glee!  That means that Jennifer Williams will be receiving her own Sue!  Congratulations, Jennifer! 

When the pattern is finished, I will be making it free for a limited time with a $10 or more purchase from either my Etsy shop or my Ravelry shop

In other news, before Christmas, a friend of Parker Jacobs, an absolutely AMAZING artist and the art director for a little show you may have heard of, Yo Gabba Gabba (!), decided he needed a mini-me for an extra-special Christmas gift!  Who doesn’t?!  So she ordered him a little Parker, complete with props, sunglasses, and a hat.  He’s in a 60s spy-themed band called GOGO13 and plays the ukulele, so naturally his little yarn-self plays one too.  Did you know Parker’s cool trick is baking special birthday cakes?  He was thoughtful enough to send me this awesome photo! They look alike, right?!

In my family, there’s lots and lots of boys and they all share a common interest: Star Wars.  So I thought I’d heard of all the characters, knew all the story lines, but when my nephew turned 16 and I asked him what he wanted, he named someone I had to look up: Grand Admiral Thrawn.  Apparently he’s a somewhat obscure character that first appears in a series of books by Timothy Zahn.  After lots of Google image searches I came up with a little Thrawn that my nephew thought was pretty great.

So you’re all watching Conan right?  You’ve seen “The Flaming C“, his superhero alter-ego?  I have been making lots of Conan dolls but I definitely needed to make a Flaming C.  Here he is! 
One last thing: Are you all subscribed to the really fun Lion Brand newsletter, Yarnplay?  Every month this newsletter comes with more fun patterns than the last!  You should really subscribe. Really. So..Click here and SUBSCRIBE!
2 Comments »

>Blimp Number Two Touches Down

>

Just wanted to share this photo of the safe arrival of Blimp #2!  Judson, the designer, received it yesterday!  I think I’ll make myself a smaller one and hang it above my lil’ Coco

2 Comments »

>CraftyisCool and the Conan Shoutout

>

So like everyone else on Team Coco, for the last 10 days I’d been furiously refreshing twitter, checking for that elusive T-shirt code.  Refresh. Refresh. Refresh.  I don’t know what app you might be using on your phones, but when I use the Twitter app on my iPhone, a tweet that mentions me shows up in blue.  The world stopped spinning when I saw the picture of Conan and that monkey next to a blue tweet.

I made that blimp because I knew the real blimp would lend itself really well to crochet, and because I knew it would be something different that he’d probably not gotten before.  I shipped it off a couple of weeks ago with a letter blabbering on about how he was so great, inspiring, awesome, etc. and I didn’t expect much.  I am pretty sure I asked to just get a picture sent if at all possible, of Conan with the blimp, or Aaron Bleyaert with the blimp.  I just didn’t think they’d get to it, especially with all the hoopla of the new show!  They did, though, and it has been awesome!  There was that tweet, and then the write up on the Team Coco blog!  I got a lot of new friends on twitter, sold a few Conan patterns, and now have frameable artwork for my walls.  It’s a dream come true.

The day after I mailed Conan his blimp, I got an email from the designer of the actual blimp.  He liked my softee version a lot!  So now he’s going to be the proud owner of Conan Blimp #2!  Here I am, in my lucky Zombie Conan shirt (thanks Team Coco!) showing it off!

Not to eat a dead horse (HA that was a Walking Dead joke!) but wasn’t the first night great?  That cold opening, especially the Coco clown–brilliant!  When Conan came out he was dressed just like my lil’ Coco!  Check it out!  Maybe the suit is slightly different.  But hey, same shirt, same tie!  Same pomp!

Thanks to everyone for coming to check out my blog, and I would really LOVE to see your blimps if you make one!  The Conan pattern is still available too, and I’ve got lots more in store in the coming weeks!

3 Comments »

>The Conan Blimp!

>

Conan’s blimp.  He hasn’t done anything by the book since being “let go”…ahem…from that network job he had.  Selling out a national tour with nothing but twitter updates?!  Releasing an awesome spoken word LP.  So a blimp?  Why not?  Love him for that.
I made a blimp to go with my lil’ Conan doll, and you can make one too!  See?  Here’s the pattern!
Team Coco Blimp

Materials:
Super bulky weight yarn (I used Lion Brand Wool-Ease Thick and Quick in Pumpkin)
White felt
Gray felt

Polyester fiberfill

Tools:
Size H hook

Yarn needle

Craft glue

Key:
Inc 1: randomly 2sc in one stitch in rnd
Dec 1: randomly sc2tog in rnd
BLO: crochet into back loops only

Blimp:

R1: Starting at back fin-end of the blimp, make an adjustable ring, ch 1, and sc 3 into the ring. Pull closed.
R2: 2sc into each st (6)
R3: (2sc next st, sc next st)* rep to end (9)
R4: (2sc next st, sc next 2 st)* rep to end (12)
R5: (2sc next st, sc next 3 st)* rep to end (15)
R6: (2sc next st, sc next 4 st)* rep to end (18)

R7: (2sc next st, sc next 5 st)* rep to end (21)

R8: (2sc next st, sc next 6 st)* rep to end (24)
R9: (2sc next st, sc next 7 st)* rep to end (27)
R10: (2sc next st, sc next 8 st)* rep to end (30)
R11: (2sc next st, sc next 14 st)* rep to end (32)
R12: (2sc next st, sc next 15 st)* rep to end (34)

R13: (2sc next st, sc next 16 st)* rep to end (36)

R14: inc 1 (37)

R15: inc 1 (38)
R16: inc 1 (39)

R17: inc 1 (40)
R18-25: sc into each st (40)
R26: inc 1 (41)
R27-29: sc into each st (41)
R30: inc 1 (42)

R31-35: sc into each st (42)

R36: dec 1 (41)
R37-38: sc into each st (41)
R39: dec 1 (40)
R40: sc into each st (40)
R41: dec 1 (39)
R42: sc into each st (39)
R43: (sc2tog, sc into next 12 st)* rep around (36)
R44: sc into each st (36)
R45: (sc2tog, sc into next 4 st)* rep around (30)
R46: sc into each st (30)
R47: (sc2tog, sc into next 3 st)* rep around (24)
R48: sc into each st (24)

** At this point you should insert a locking stitch marker onto the loop on your hook and stuff the blimp firmly. Stuffing should be packed in tightly, especially if the blimp will be handled a lot. When you think you’ve stuffed enough, stuff a handful or two more in. This is a crucial step to the shaping and overall look of the blimp! Continue the next few rows and add stuffing a little at a time if necessary.

R49: (sc2tog, sc into next 2 st)* rep around (18)

R50: (sc2tog, sc into next st)* rep around (12)

R51: sc2tog around (6)
Fasten off and use the yarn tail to stitch the opening closed. Run the tail through the last six stitches and pull tight.

Rudder (Make 4):
R1: ch 6, and sc into the 2nd ch from the hook and the next three chs (5)
R2: ch 1, turn, sc into next 5 st (5)
R3: ch 1, turn, sc into next 3 st, sc2tog (4)
R4: ch 1, turn, sc into next 4 st (4)

R5: ch 1, turn, sc into next 2 st, sc2tog (3)

R6: ch 1, turn, sc into next 2 st, 3sc into last st (corner made)
R7: sc around edge of rudder, working 3sc into each corner, until you get to diagonal edge.
Fasten off and use yarn tail to stitch rudder to blimp as shown.
Repeat for four rudders and align them each symmetrically.

Gondola:
R1: ch 6, and sc into the 2nd ch from the hook and the next three chs (5)

R2: ch 1, turn, sc into each st (5)
R3: ch 1, turn, sc into next 4 st, 2sc into last st (6)
R4: sc around edge of work, 2sc in each corner (18)
R5: sc into BLO of each st around (18)
R6-8: sc into each st (18)
Fasten off and sew to bottom of blimp near the middle, stuffing before you sew the last few stitches.

Finishing:
Either freehand (good luck!) or using your computer, print out the word “CONAN” and the tbs logo. MS Word’s Word Art can create a semi-accurate image of an outlined logo using the LuzSans-Book font. Use the printout as a guide and cut out letters and the logo from white felt. Use craft glue to attach the letters to the blimp. If you’d like the blimp to fly, thread a yarn needle with a light colored strong thread and weave into the top of the blimp in two or three spots, pulling together at the top at one point. Tie off thread and hang as desired. Now set sail! Team Coco!
9 Comments »

>Catching up from Fall-ing Behind

>Dang! What’s my problem?!  Has it really been since the end of August that I blogged?  Why am I so bad at this?!  Well, in my own defense (which is odd because probably no one besides me is on the offense) Fall is usually the busiest time of year for most people, especially crafty-types, wouldn’t you agree?  There’s the whole back to school thing, Halloween costume planning and making, gifts for Christmas, stuff just for you, and if you’re selling your stuff, orders.  I am not complaining.  I never relax anyway, so this is just normal stuff for me.  So when all those other things are bogging down my schedule, I guess blogging is on the back burner.

So here’s to change!  I have been up to some good crafty stuff lately, and I wanted to share!  I was so excited to get custom orders for some awesome stuff.  Sometimes I run out of ideas and time so when people ask for specific things that they dreamed up, its so fun!  Recently I made this awesome Chuckles from Toy Story 3.  I’m not bragging about how awesome my Chuckles is, but if you have seen the movie you know what an awesome character Chuckles is.  Really underplayed, and absolutely zero representation in the huge retail push this summer.  So when a fellow Austinite asked me to make one for her boyfriend, I was thrilled!  Here he is!  I’ll probably write up a pattern one of these days.  You know I always keep really detailed notes but it may look like chicken scratch to most people. 

But that’s not all!  I also made a custom Wonder Woman, and the pattern is available!  I really loved her.  Her new owners love her too, I hear.  Her hair has black sport yarn and black sparkly yarn.  She’s a superhero.

Beyond amigurumi designs, I took a few hours the other morning to liven up some dead-boring gray flats.  Linda Perman’s amazing book Crochet Adorned has really innovative and not at all old-fashioned looking crochet ideas.  She has a stitch dictionary in the back with some beautiful flower designs.  I took her shoe embellishment idea and added some flowers.  What do you think?  I absolutely LOVE them and so do a few people that stopped me to ask about them when I was wearing them last night.

I have really super exciting edge of the seat news to share in November!  OK well, exciting to me, in a starstruck-celebrity-sighting kind of way.  But it does have to do with crochet and you will hear about it here first!  I love my job.

One more thing!  I’m going to be starting up some kind of newsletter/special announcement/sales alert/etc thing and there’s a sign up right over there ——–>  Thanks, all!

4 Comments »