craftyiscool

Amigurumi Patterns and Playthings

>

I have been wanting to make another wild thing but HAD to wait until after Christmas.  I have this whiteboard with all these ideas for new patterns.  There’s lots of ideas that never quite make it into the yarn.  When I decide to actually create a doll, I make a sketch and kind of map it out how I think I will make it.  I jot down how many stitches in a row, how many rows will repeat, what color yarns I’m going to use, etc.  I’ve had Douglas in that stage for a…ahem…very long time.
I finally got around to actually making him and I love him!  I tried a few shortcuts for his head feathers.  They all looked terrible.  I tore up lots of yarn trying to make a quick fix and have it look accurate, but I finally bit the bullet and crocheted each one individually in keeping with the character in the book, and I’m glad I did!  I took pictures this evening and it was already getting dark outside.  I like to use natural light only so most of the pictures didn’t turn out to be usable.  When I do get all the pictures I want tomorrow, the pattern for Douglas will be in my etsy shop!
 Thanks for stopping by my blog today!
1 Comment »

>Prepping for Valentine’s anyone??

>

In the grand tradition of procrastinating on this blog, I now present the third free pattern I promised way back in ’09.  Ok, that wasn’t really all THAT long ago, was it?  But it sounds like it 🙂

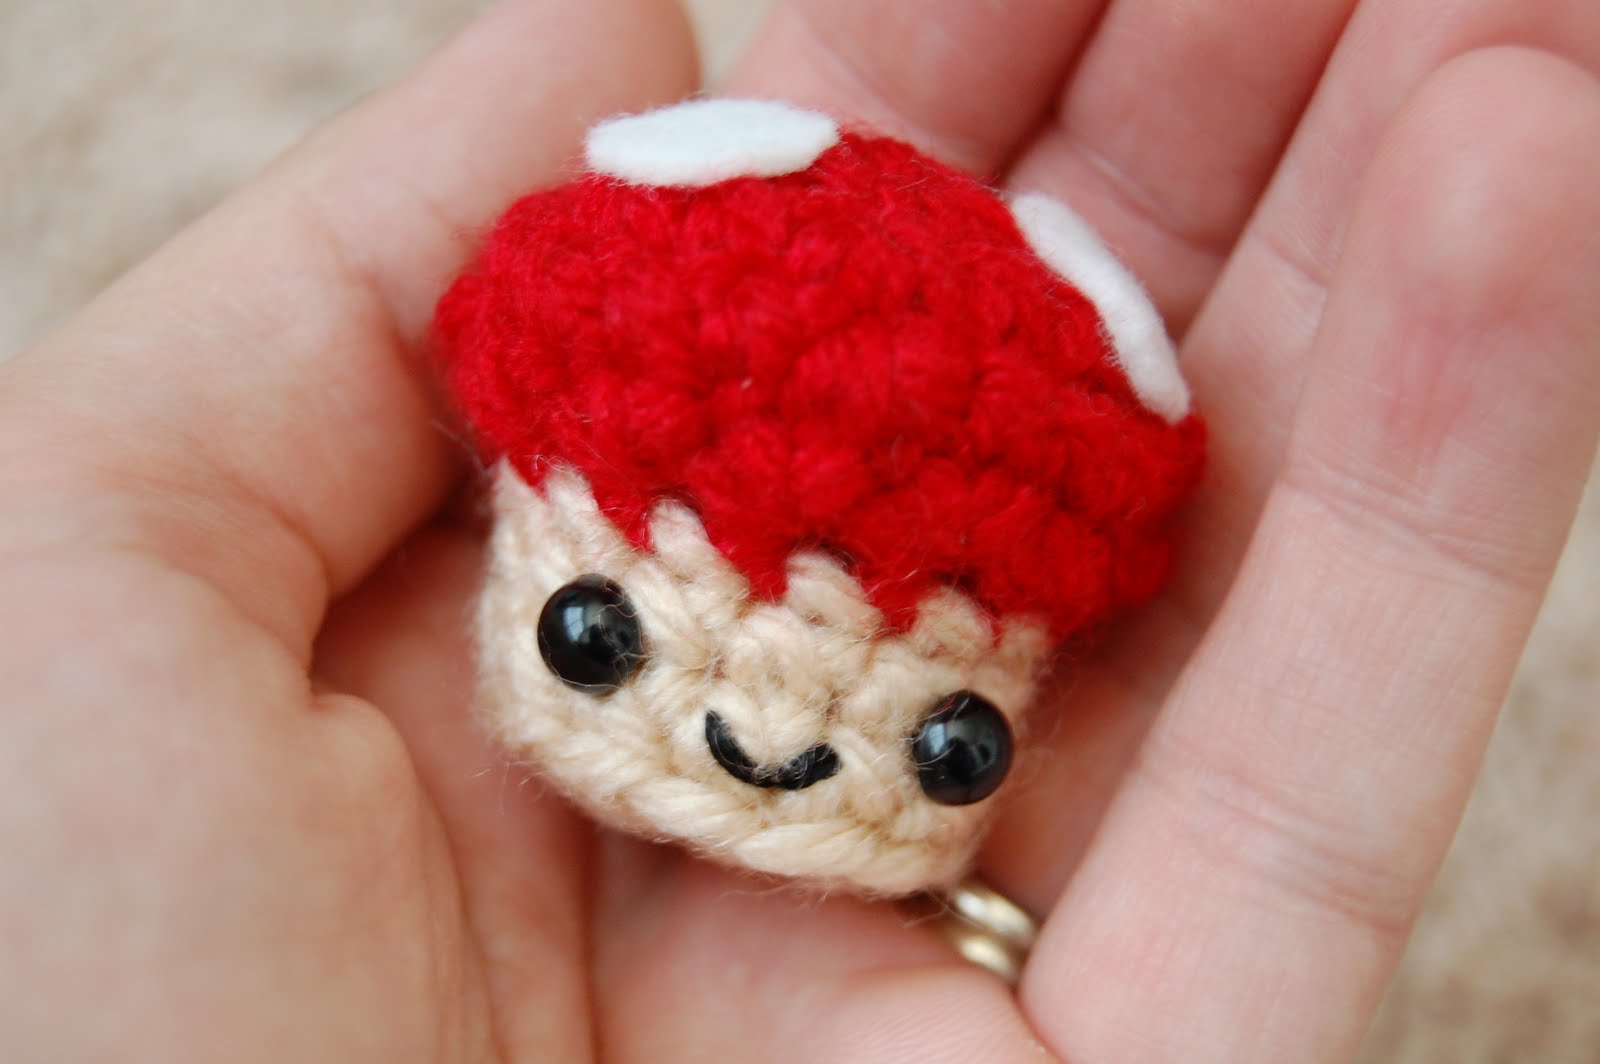
When I set up a demo booth at the Handmade Nation craft fair here in Austin, one of the kits I put together was for this here little Happy Heart Pin.  I thought it would be fitting to post this baby up before Valentine’s Day.  If you’re especially productive, you could even crochet up a couple dozen and pin them on some cute homemade cards for your kids at school.  If you aren’t so dedicated to spreading the handmade love, you could just make one for yourself to wear around for a few weeks leading up to Valentine’s day. 
Here she is!

Happy Heart Pin

Materials:
Red worsted weight yarn
Black safety eyes (6mm)
Black embroidery floss
(E-I) Hook (larger hook will make Happy bigger)
Yarn needle
Polyester stuffing
Pinback
Craft glue

Key:
ch: chain
sc: single crochet
st: stitch
sc2tog: single crochet 2 st together (decrease)

*     *     *

Starting at point of heart and with red yarn, make an adjustable ring, ch 1, and sc 3 into the ring. Pull closed.

R1: Work 2sc into each st (6)

R2: (2sc into next st, sc into next st)* repeat to end of round (9)

R3: (2sc into next st, sc into next 2 st)* repeat to end of round (12)

R4: (2sc into next st, sc into next 3 st)* repeat to end of round (15)

R5: (2sc into next st, sc into next 4 st)* repeat to end of round (18)

R6: sc into the next 9 st, skip next 9 st.

(**You have now started the right side of the top of the heart.)

R7: starting at the first stitch of R6, sc into each st (9)

R8: (sc2tog, sc into next st)* into each st (6)

Fasten off by slip stitching into the next stitch. Leave a tail . Using the yarn needle, weave tail through last row of stitches and pull tightly to close the hole.

You should now insert the eyes into the heart. The backing piece will be snapped onto the back, inside the heart. It will be a tight fit!

Attach yarn back onto the open side of the yarn, starting on the inside and you will work around the opening. You can either tie a knot to attach the new yarn or you can insert the hook on the outside into the first stitch and pull the yarn up through the work, and sc for your first stitch. Repeat R6-8 on the other side to create the second top bump.

Embroider a tiny smile onto Happy Heart’s face.

Glue pinback onto the back of the heart.

LOVELY!

4 Comments »

>Baby Mushroom!

>So in my shop I’ve had sooooo many people ask for completed toys. I think people search for toys and find my etsy shop, don’t know how to crochet, and it goes from there. I’ve been making lots of toys and have gotten a lot faster at it. I used to really push those deadlines, not having time to work on them and waiting til the last minute. Now every recent toy I’ve made has shipped early. Hey if you’re wanting a completed doll, lemme know—I’m on a roll! 😉

Oh and it has helped that someone requested a complete set of Yo Gabba Gabba dolls in natural materials. I really like using wool over acrylic—such a huge difference the way it crochets…!

Well it was my intention to keep posting these little free patterns, but you know how it is….life….anyway, here’s the next one! It’s a little mushroom, tiny and sweet. He works up in no time, so you could make a bunch for gifts, maybe even for trick or treaters if you were feeling generous! I glued the spots on but you can sew ’em on if you’d like. He’s kind of Super Mario – ish except my 8-year-old informed me the smile does not belong. 🙂 You could make one in green and enjoy an easy 1-up anytime you like! Enjoy!

Materials:Red worsted weight yarn
Tan worsted weight yarn
Black safety eyes (6mm)
Black embroidery floss
(E-I) Hook (larger hook will make Baby bigger)
Yarn needle
Polyester stuffing
White felt
Craft glue

Key:ch: chain
sc: single crochet
st: stitch
sc2tog: single crochet 2 st together (decrease)
BLO: crochet only into the back loops (furthest away from you)
FLO: crochet only into the front loops (closest to you)

Baby Mushroom:
Starting at top of mushroom and with red yarn, make an adjustable ring, ch 1, and sc 6 into the ring. Pull closed.
R1: Work 2sc into each st (12)
R2: (2sc into next st, sc into next st)* repeat to end of round (18)
R3: (2sc into next st, sc into next 2 st)* repeat to end of round (24)
R4: sc2tog all the way around (12)
At the last stitch of R4, change to tan yarn by making the last stitch and instead of yarning over with the red yarn for the last step of making the stitch, yarn over with the new tan yarn.
R5: sc into the FLO of each st (12)
R6-7: sc into each st (12)
Mark your place with a stitch marker and insert the safety eyes into Baby Mushroom’s face. The back snaps on inside the mushroom. It will be a tight fit! Stuff the mushroom as tightly as possible to make him nice and squishy.
R8: sc2tog all the way around (6)
Fasten off by slip stitching into the next stitch. Leave a long tail and using a yarn needle, weave this tail through the last round of stitches. Pull it tight and the hole will close. Hide the end inside the mushroom.
Glue three white felt circles onto Baby Mushroom’s head using craft glue.
*If desired, you could tie a loop of yarn at the top and hide the ends inside Baby Mushroom to make a hanger for a necklace, keychain, ornament, etc.

8 Comments »

>Tiny Jack Amigurumi Pattern

>

Today was the Handmade Nation premiere in Austin! I loved being a part of it, if just a little tiny part, by doing a demo! I brought lots of kits, patterns, tools, business cards, and instructional booklets on how to crochet, and at the end of my “shift”—all GONE! So no one misses out on any of the patterns I had available for the first part of the demo, I’ll be posting them here every few days. First is a little pumpkin with a scary face! Tiny Jack! 😉

Materials:
Orange worsted weight yarn
Green worsted weight yarn
Black safety eyes (6mm)
(E-I) Hook (larger hook will make Jack bigger)
Yarn needle
Polyester stuffing
Black felt
Craft glue

Key:
ch: chain
sc: single crochet
st: stitch
sc2tog: single crochet 2 st together (decrease)

Tiny Jack:
Starting at top of pumpkin and with orange yarn, make an adjustable ring, ch 1, and sc 6 into the ring. Pull closed.
R1: Work 2sc into each st (12)
R2: (2sc into next st, sc into next st)* repeat to end of round (18)
R3: (2sc into next st, sc into next 2 st)* repeat to end of round (24)
R4: sc into each stitch (24)
R5: sc2tog all the way around (12)
Mark your place with a stitch marker and insert the safety eyes into the pumpkin. The back will fit very snugly onto the eye inside the pumpkin. Push hard!
R6: sc2tog all the way around (6)
Fasten off by slip stitching into the next stitch. Leave a long tail and using a yarn needle, weave this tail through the last round of stitches. Pull it tight and the hole will close.
With the tail still on the yarn needle, thread it up through the pumpkin to the top and out, then back in close by, through to the bottom. Knot this tail at the bottom and hide the end inside the pumpkin by threading it back inside.
Using green yarn, create the stem by threading it through the top and back out, tying a knot, threading it back through and keeping a loop on the outside, then tying the tails. Snip off yarn to desired length.
Glue a tiny black felt triangle on for the nose, and a black felt smile on using craft glue.

**He’d be cute hanging on a black cord for a Halloween necklace, from a keychain, or just sittin’ somewhere being spooky!

Leave a comment »

>Beginning…

>You know I’ve been putting off typing ANYTHING because I am waiting for this book….Blogging for Bliss…..
Silly, right? I’m wanting this blog to be fun and funny, informative and easy-reading, perfect and imperfect. I always liked writing but now that I know its going to be out there for anyone to read, its a little unnerving. Anyone else feel this way??
I’m going to put up a free pattern in a couple of days….stay tuned!

1 Comment »

>Yay! Blog!

>

Leave a comment »