craftyiscool

Amigurumi Patterns and Playthings

Free Pattern Friday! Squeeze n’ Sniff Pumpkin Pie

Squeeze n’ Sniff Pumpkin Pie

November is here! And finally we are getting some cooler weather down here in Texas! It’s not a snowstorm or anything but when we’re below 70 it’s fall!

I love Thanksgiving: the food, the singing (yes, my mother has us all sing Thanksgiving songs together!), the naps, and oh yeah, football, if you’re into that sort of thing. It’s also a good day for planning some Black Friday shopping (and oh yeah, I AM into THAT sort of thing)! 

This year make dessert weeks in advance (and you don’t have to clear out any room in your freezer).

I made a pumpkin pie! It is absolutely void of calories, fat, and carbohydrates. The whipped cream is optional (but how could you eat pumpkin pie without whipped cream?!).


This pumpkin pie has a secret. Tucked inside is an easy to make sachet filled with pumpkin pie spice so that your Squeeze n’ Sniff Punkin Pie smells like the real deal!

You will need…
Yarn (all worsted weight):
  Gray
  Burnt orange
  Tan
  White

Hook:
  Size E/3.5 mm (or your favorite!)

Notions:
  Black safety eyes (10mm)
  Polyester stuffing  
  Yarn needle
  Plastic canvas circle measuring 2 3/4″ (or cardboard)  Embroidery needle
  Black embroidery floss
  Scrap of fabric
  Thread
  Pumpkin pie spice

Key: 
BLO: crochet into back loops only
ch: chain 
hdc: half double crochet
inc: increase within the round the number of times indicated
rep: repeat
sc: single crochet 
sl st: slip stitch
st: stitch 

Pan:
Rnd 1: With gray yarn, make an adjustable ring, ch 1, and sc 6 into ring. Pull closed. (6)
Rnd 2: 2 Sc into each st (12)
Rnd 3: (2 Sc into next st, sc into next st)* rep to end of rnd (18)
Rnd 4: (2 Sc into next st, sc into next 2 st)* rep to end of rnd (24)
Rnd 5: (2 Sc into next st, sc into next 3 st)* rep to end of rnd (30)
Rnd 6: (2 Sc into next st, sc into next 9 st)* rep to end of rnd (33)
Rnd 7: Sc into the BLO (back loops only) of each st (33)
Rnd 8: Sc into each st, inc 1 (34)
Rnd 9: Sc into each st, inc 1 (35)
Rnd 10: Sc into each st, inc 1 (36)
Fasten off. Cut yarn tail short (will be tucked inside upon assembly).

Top of Pie:
Rnd 1: With orange yarn, make an adjustable ring, ch 1, and sc 6 into ring. Pull closed. (6)
Rnd 2: 2 Sc into each st (12)
Rnd 3: (2 Sc into next st, sc into next st)* rep to end of rnd (18)
Rnd 4: (2 Sc into next st, sc into next 2 st)* rep to end of rnd (24)
Rnd 5: (2 Sc into next st, sc into next 3 st)* rep to end of rnd (30)
Rnd 6: (2 Sc into next st, sc into next 4 st)* rep to end of rnd (36)
Change color to tan at the last stitch of Rnd 6.
Rnd 7: Sc into each st around (36)
Rnd 8: Sl st into next st, (5 hdc into next st, sl st into next st)* repeat to end of round.
Fasten off and leave a long tail for sewing.

Whipped Cream:
Row 1: With white yarn, ch 7, leaving a long (10″) beginning tail. Work 2 sc into the 2nd ch from the hook, sc into the next 3 ch, sc2tog (6)
Row 2: Ch 1, turn. Sc2tog, sc into next 3 st, 2 sc into last st (6)
Row 3: Ch 1, turn. 2 Sc into first st, sc into next 3 st, sc2tog (6)
Row 4-9: Alternate Rows 2 and 3.
Row 10: Ch 1, turn. Line up Row 10 and Row 1. It will be on a diagonal. Sl st the rows together. You will form a tube. 
Fasten off and leave a long (18″) tail. Thread the tail onto a yarn needle and weave the tail through the row ends at the top of the tube you’ve just created. Pull the tail tightly to close up the top of the tube. Insert your hook into a nearby stitch and pull up a loop of the tail. Ch 3, then sc into 2nd ch from hook and next ch. Sl st back into where you started. This has created the “peak” of the whipped cream. Fasten off and weave in the ends. Use the beginning yarn tail to sew the whipped cream to the top of the pie in the center. Stuff sparingly as you go.
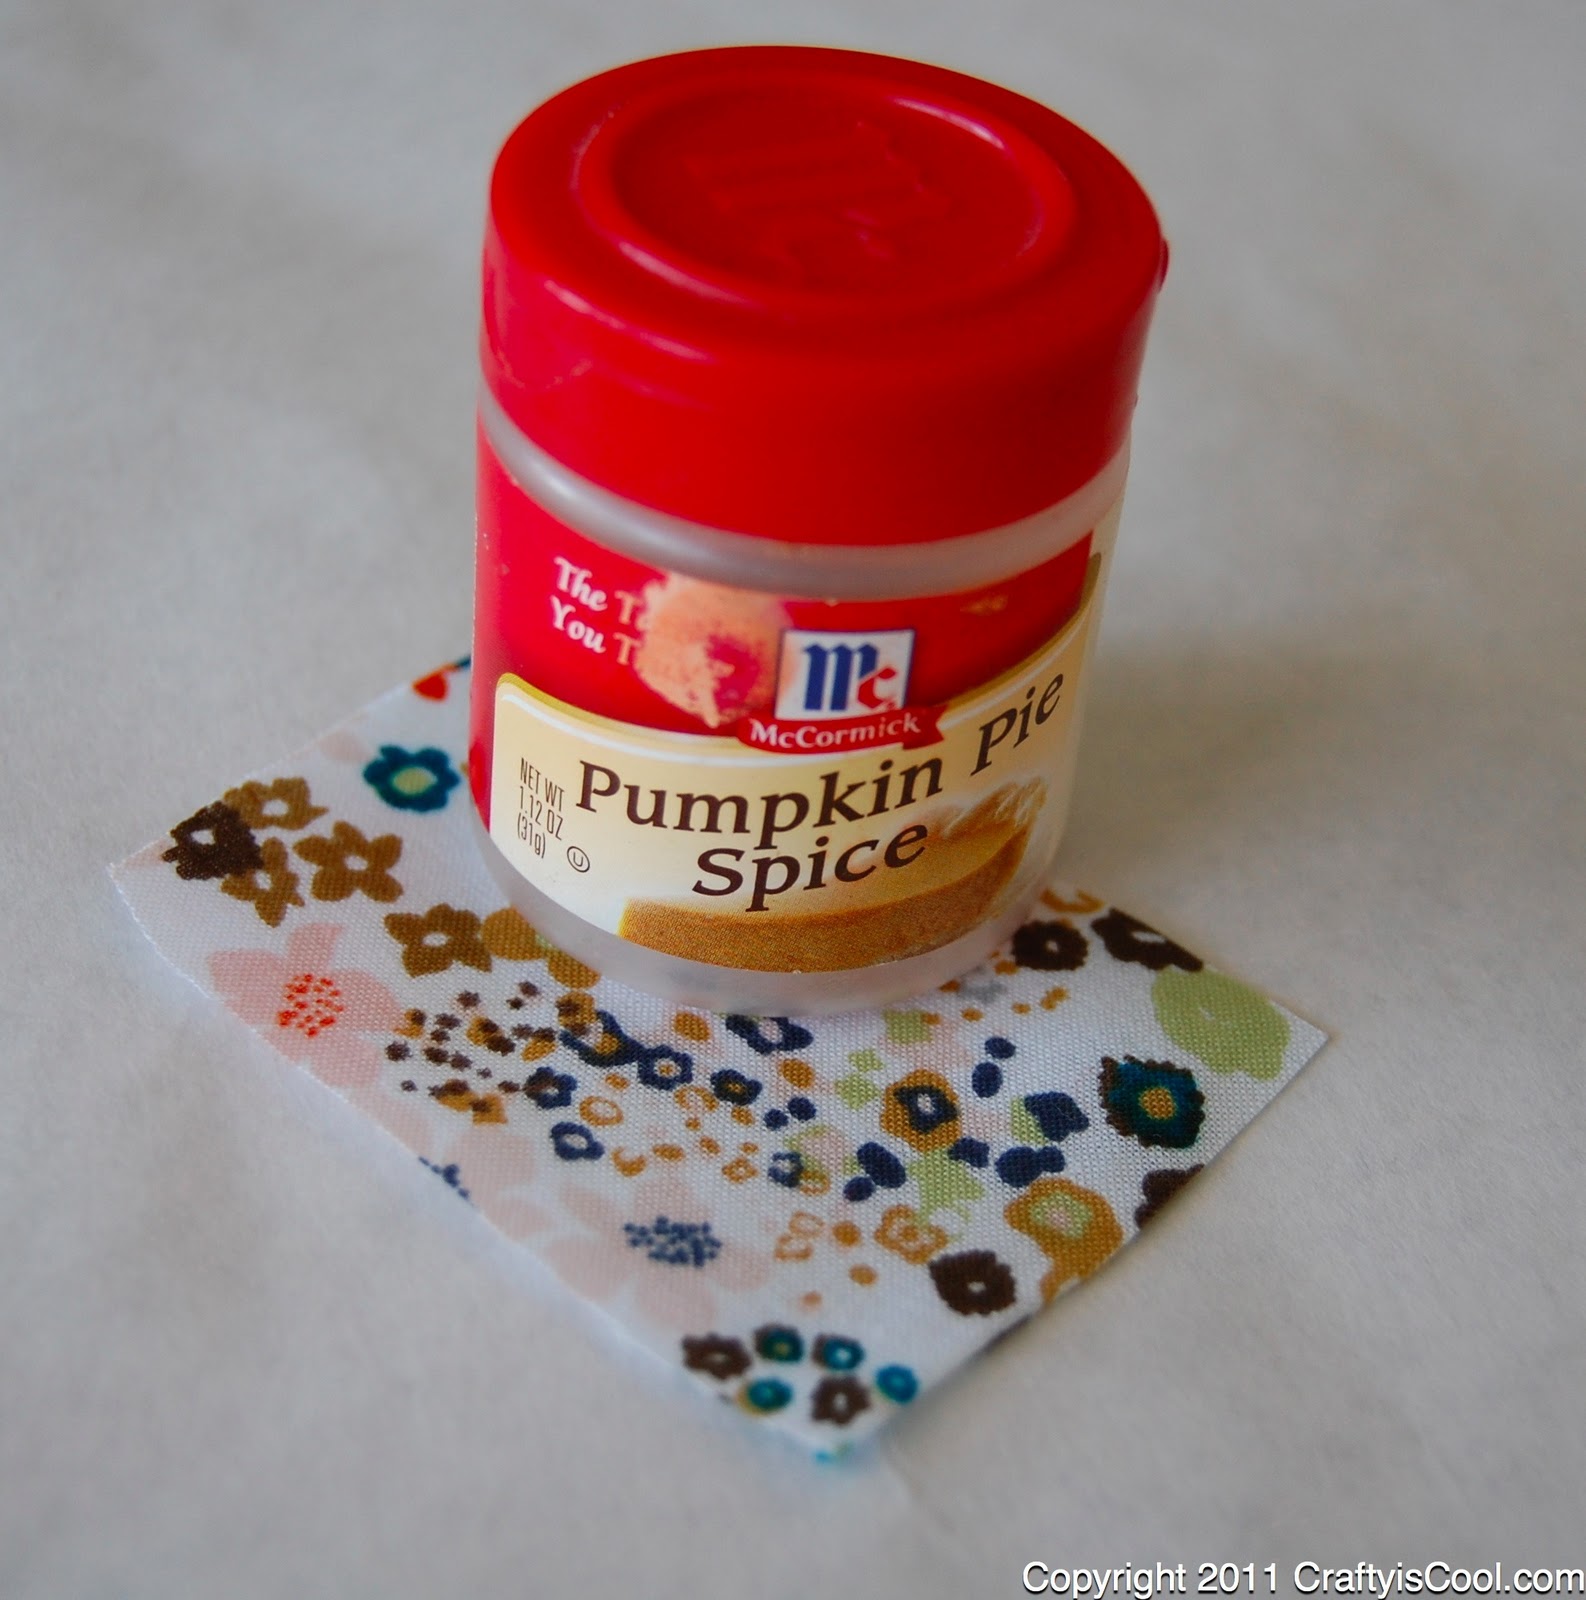
Sachet:
Create a tiny sachet to make your pie smell sweet! Fold the rectangular scrap of fabric in half and seam two edges either by hand or machine sewing. Fill the sachet with pumpkin pie spice (I used almost a teaspoon) and stitch closed. 


Assembly:
Insert the safety eyes into the top of the pie as shown. Embroider mouth using two loose straight stitches in a “v” shape.
Insert the plastic canvas (or cardboard) circle into the bottom of the pie. 
Place the top of the pie onto the pan and stitch into place using the tan yarn tail. Before you close it up, stuff with polyester fiberfil and insert the sachet. Continue stitching and fasten off, hiding yarn tail inside pie.


19 Comments »

For the ultimate girly-girl

My niece just turned 9. Besides a Build-a-bear (which Grandma already got her) and a cotton candy machine (which I thrifted for $7.99 at Thrift Land here in Austin–woohoo!), there wasn’t too much she’d asked for. That’s where the handmade stuff comes in! Sacrifice a little time, some materials you already have (and BOY do I have some materials!), and you’ll give a gift that will be cherished for years to come!

I have three boys. I do not get to buy stuff with hearts, rainbows or fluffy clouds. I went all out on finally getting to make a super-girly accessory. Browsing Ravelry I’d seen several rainbow scarves. They were all basically the same so I just winged it. I got out a rainbow of similar-weighted yarn, all washable acrylics, and got to work.

Here’s a simple tutorial if you’d like to make your own!

Rainbow! Hearts! Fluffy Clouds!

Rainbow Scarf:

Materials:
Worsted weight yarns (any number of colors)
Fluffy white yarn (for clouds)– I used Baby Bee “Lambie Pie” from Hobby Lobby
Pink worsted weight yarn (for heart)

Tools:
Size G crochet hook
Yarn needle

Scarf:
Ch between 152 and 252 ch (depending on child’s –or adult’s– height).
R1: Dc into 3rd ch from hook and each subsequent ch. Change colors on the last stitch, using the new color to complete the stitch.
R2: Ch 2, turn. Dc into each st.
Repeat R2 until you have finished all the colors of your rainbow. Weave in ends.

Clouds (make 10):
With white fluffy yarn, make an adjustable ring and ch 1. Sc 6 into ring and pull closed.
R1: 2 Sc into each st (12)
R2: (2 sc into next st, sc into next st)* rep to end of round (18)
R3: (2 sc into next st, sc into next 2 st)* rep to end of round (24)
R4: (2 sc into next st, sc into next 7 st)* rep to end of round (27)
Fasten off and leave tails.
Using the yarn needle, overlap five of the circles to make a fluffy cloud shape. Sew them together with the yarn tails. Sew the assembled cloud to one side of the scarf end. Flip cloud over and sew the remaining circles to the back of the cloud, lining them up. You may lightly stuff the cloud if desired. Weave in ends.

Heart (make 2):
Refer to THIS pattern to make big pink hearts. Thanks Red Heart and fabulous designers!
Sandwich the hearts together and stitch the bottom halves together. Insert the end of the scarf and continue stitching them together through the scarf. Weave in ends.

Maybe I’ll keep it…?

Just in time to make several for Christmas! Am I right?

14 Comments »

>Wanna make a monster?

>

Time for another tutorial! I made this lineup of baby monsters for my Basic Amigurumi class at The Knitting Nest.  I think they’re a pretty good beginner project because it teaches how to start crochet in the round, how to single crochet, how to increase, and basic construction and customization of amigurumi.  Let’s begin, shall we?

Baby Monster’s Guide to Basic Amigurumi
You’ll need the following stuff:
  • Small amount of worsted weight yarn
  • Size E Crochet hook (or your favorite)
  • Plastic safety eyes (I used 6 mm, but you can use whatever makes your monster happy!)
  • Polyester fiberfill stuffing
  • Embroidery floss
  • White felt
  • Craft glue
  • Scissors
  • Yarn needle
  • Embroidery needle
Head/Body:
Begin by making a ring with your yarn as shown. 
Insert the hook into the front of the ring and hook your working yarn (the yarn coming from the the ball) with the hook.  Pull up a loop through your ring.
Wrap the working yarn around the hook from behind and pull through the loop on your hook.  This is called a chain stitch and is written in a pattern “ch 1”.
You will now single crochet six stitches into the ring. Insert the hook into the front of the ring and pull up a loop of working yarn to the front. Two loops are on your hook. Wrap the working yarn around the hook from the back and pull through the two loops. This is one single crochet stitch into the ring.  Do five more single crochets into the ring.
Pull the short yarn tail to close the ring and the stitches will come together to form a circle of stitches. This is the base for the rest of your monster.
To make the circle grow, you will increase by crocheting two times into each stitch. Insert your hook under both loops of the next stitch as shown.
Pull up a loop. Two loops are on your hook. 
Wrap the working yarn around your hook.  Pull through the two loops.  This is one single crochet stitch. Now single crochet into the same spot again. This is an increase. It is usually written “2 sc into next st” and for this round you will repeat this for every stitch until you have 12 total stitches in the round. Count the stitches by counting each “v” around the circle.
The next round, you will increase in every other stitch. This means that you will put two stitches in the first stitch, one stitch in the next, two stitches in the next, and so on. At the end of the round you should have 18 stitches.
For the last increasing round, you will increase in every third stitch. This means you single crochet two times in the first stitch, then single crochet in the next two stitches only once, then single crochet two times in the next stitch, and so on around until you have a total of 24 stitches.
After you have finished increasing, you will have a flat circle with 24 stitches around. This circle magically becomes a cylindrical shape as you single crochet around into each stitch for 9 rows.
Using a stitch marker, crochet around 24 stitches, move the marker to the loop on your hook, then crochet around 24 again, then move the stitch marker to the loop on your hook, and repeat until you have 9 rows. Of course, if you want your monster taller you can do more than 9 rows and if you want him to be on the short side, do fewer than 9 rows.
Finish your monster’s body off by slip stitching into the next stitch. All this means is that you cut the yarn with a few inches left, insert your hook into the next stitch, pull up a loop, and pull that loop all the way through the loop on your hook. 
Base:
To make the base of the monster, repeat the steps from the beginning to make a circle of 24 stitches.
Before sewing the pieces of your baby monster together, you must attach the eye(s).  Cut the felt piece as desired.  One large circle, two small circles, etc.  At the spot where you want to insert the black eye, cut a tiny slit and insert the post of the safety eye.  Place the eye where you want it on the body piece and push the post through. 
Put the washer inside the body and fit it over the post.  Push hard and snap the washer onto the post all the way down.

Insert a small amount of stuffing into your monster. Fit the bottom piece over the bottom of the body. Use the long yarn tail and a yarn needle to stitch the pieces together, lining stitches up and sewing between them. As the hole closes up, add more stuffing as desired.

Now its time to design your monster’s expression. Use the embroidery needle and embroidery floss to stitch a mouth, eyebrows, eyelashes, etc onto your monster’s face.

Give him a tooth or two by gluing a little piece of felt onto his mouth. Use your imagination! You can sketch out your design first so he’ll look just right.


Glue or sew down the edges of your monster’s eyes.

You can add a bow by tying a strand of yarn into a bow and stitching it onto your monster’s head with the same color.


Here’s how the pattern would look written out:
 
Head/Body:

Starting at the top of the monster’s head, with worsted weight yarn and an E hook, make an adjustable ring, chain (ch) 1, and single crochet (sc) 6 stitches into the ring. Pull the ring closed with the loose yarn tail.
R1 (Row or Round 1): 2sc into each st (12)
R2: (2sc into next st, sc into next st)* rep around (18)
R3: (sc into next st, 2sc into next st, sc into next st)* rep around (24)
R4-12: sc into each st (24)
Fasten off. Set aside.


Base:
Make an adjustable ring, chain (ch) 1, and single crochet (sc) 6 stitches into the ring. Pull the ring closed.
R1: 2 sc into each st (12)
R2: (2 sc into next st, sc into next st)* rep to end of rnd (18)
R3: (sc into next st, 2sc into next st, sc into next st)* rep to end of rnd (24)
Fasten off.

Here are my baby monsters! See how the expressions change with a little stitching, changing the eye size, and even the position of the felt?


Baby monsters are perfect for little hands!
97 Comments »

>Strike a Pose!

>My new favorite thing to do with my human-esque amigurumi is to make them poseable.  Without poseable limbs,

Parker couldn’t hold his ukulele,
Thrawn couldn’t look so menacing,
DJ Lance couldn’t rock his funky beats,
and Jimmy Kimmel couldn’t cuddle with his lil’ Guillermo!
Figuring out how to make amigurumi poseable isn’t completely intuitive, and I’ve been wanting to do a little tutorial on here for a while, so here it is: 
CraftyisCool’s Guide to Poseable Amigurumi
* I’m only covering posing arms here, but of course the same principles can be applied to making legs poseable too. (Michael Jackson DEFINITELY needs poseable legs!)
You’ll need the following items to begin:
  • stuffing tool
  • 16 gauge wire
  • small bit of stuffing
  • armless amigurumi
  • amigurumi arms
  • small sharp scissors
  • yarn needle
Step One:  Stuff the arms sparingly.  I like to use this long stick but the eraser end of a pencil works great too.
Step Two:  Measure a piece of 16 gauge wire.  When both arms and the body are laid out, the wire should be long enough to fit across all three pieces as if they were assembled.
Step Three:  Bend the tip of the wire and insert it into the first arm through to the hand.  The bent end should not come out.
Step Four:  Insert the long end of the wire into the body where the arm will be placed.
Step Five:  Push the wire all the way through to the opposite side at the corresponding spot where you’ll want to sew your other arm.
Step Six:  Bend the tip of the wire you just pulled through and insert into the other arm.
Step Seven: Sew both arms to the body around the wire core.
Step Eight:  Pose!
Hope you learned something from me and my bald expressionless Conan!
7 Comments »